Painting My Cobblestone Road Sections
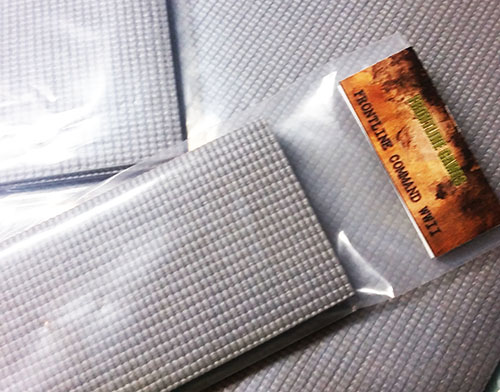
I recently acquired some Frontline Games Cobblestone Roads & Square sections. They are made of a flexible & soft PVC so you can easily lay them over hills and depressions on your game table no problem and they will conform to them. Here is what I got:
- A pack of Cobblestone Roads, which comes with five 2 foot x 4 inch sections
- A pack of 8 inch Cobblestone Square Sections, which comes with two pieces
- A pack of 12 inch Cobblestone square Sections which comes with two pieces
You can check them out here. Pricing which is very reasonable.
They come with a set of instructions/FAQs, and I would advise reading that before painting and so on. The first thing I did was pick up (as suggested) the following items from everyone’s favorite store (because it was cheap) – Walmart:
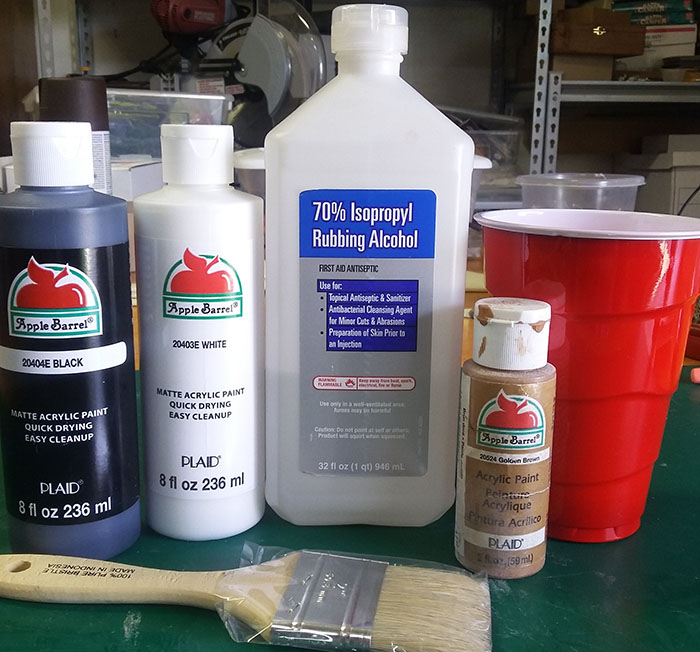
- 1 Bottle of Apple Barrel 20404E Black
- 1 Bottle of Apple Barrel 20103E White
- 1 Bottle of Apple Barrel 20524 Golden Brown
- 1 Bottle of Rubbing Alcohol
- 1 Disposable cup (already had)
- 1 Chip brush
I bought the larger paint bottles, but if you are only doing a few the smaller ones will do. All of this will cost you about $5.00 – if that.
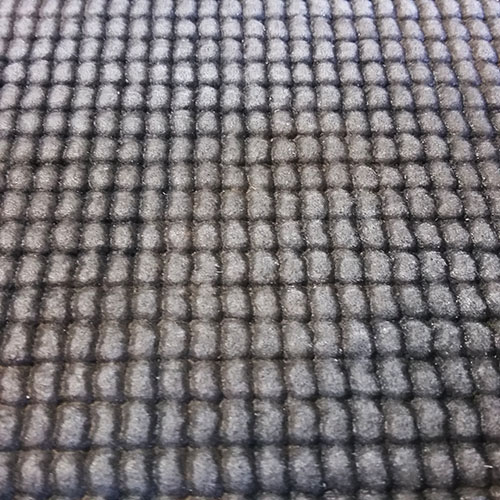
Next, I mixed 1 part black paint and 2/3 parts rubbing alcohol. You can thin this out as much as you want. What the rubbing alcohol does is lowers and thins out the paint’s surface tension so it acts more like a stain. I laid out my road sections and just began to brush on the black stain mixture.
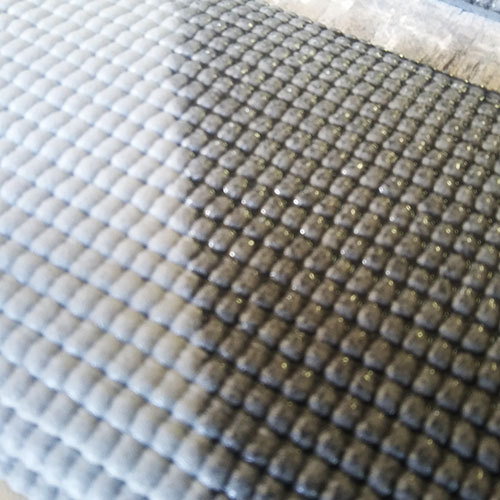
As you should be able to see in the picture, the black stain mixture runs in to all of the cracks and crevasses of the Cobblestone road sections. I continued this until it was done.
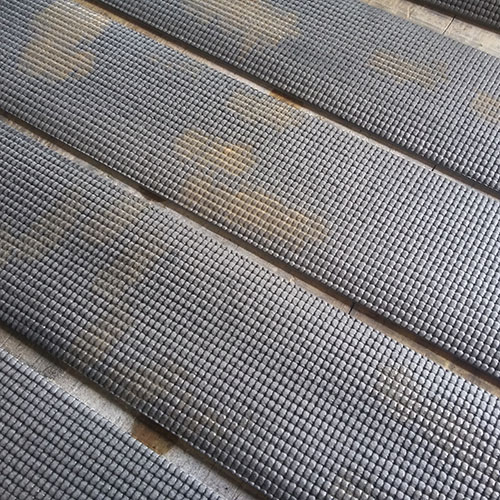
Next I repeated the same steps as above after the roads dried (and they did very quickly here but it was warm outside). I dabbled the brown ink mixture in various places to simulate mud. Let this dry thoroughly before going to the next step or you will end up with muddy white 🙂
The final step was to dry brush white very lightly just to add depth, and above is the result. You can see the subtle brown and black in the cracks/crevasses.
The Final Result!
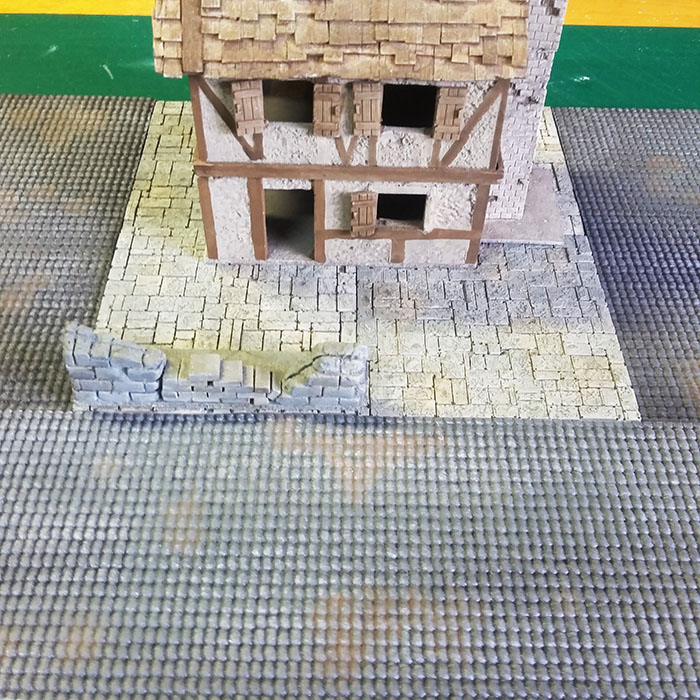
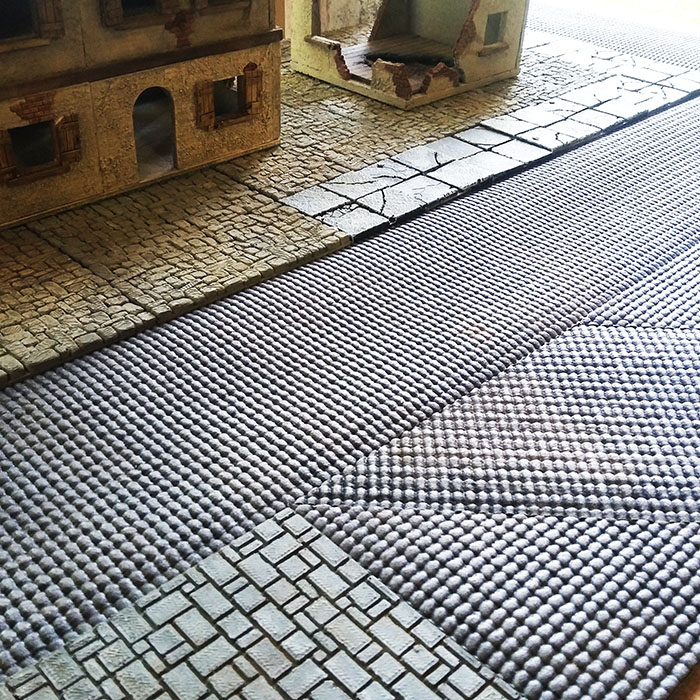
Here is a quick shot of the roads/sections surrounding my WIP cottage. I really like these, and think they add a lot to the table top. Next I will cover how I made the angled Road sections as seen below. So check back here. I will add a link once I have it complete 🙂
Hope this was helpful – enjoy!